Oooh, Shinies!
Your one-stop destination for all things nail-related, where nail art, product reviews, and nail polish swatches
What You’ll Find Here:
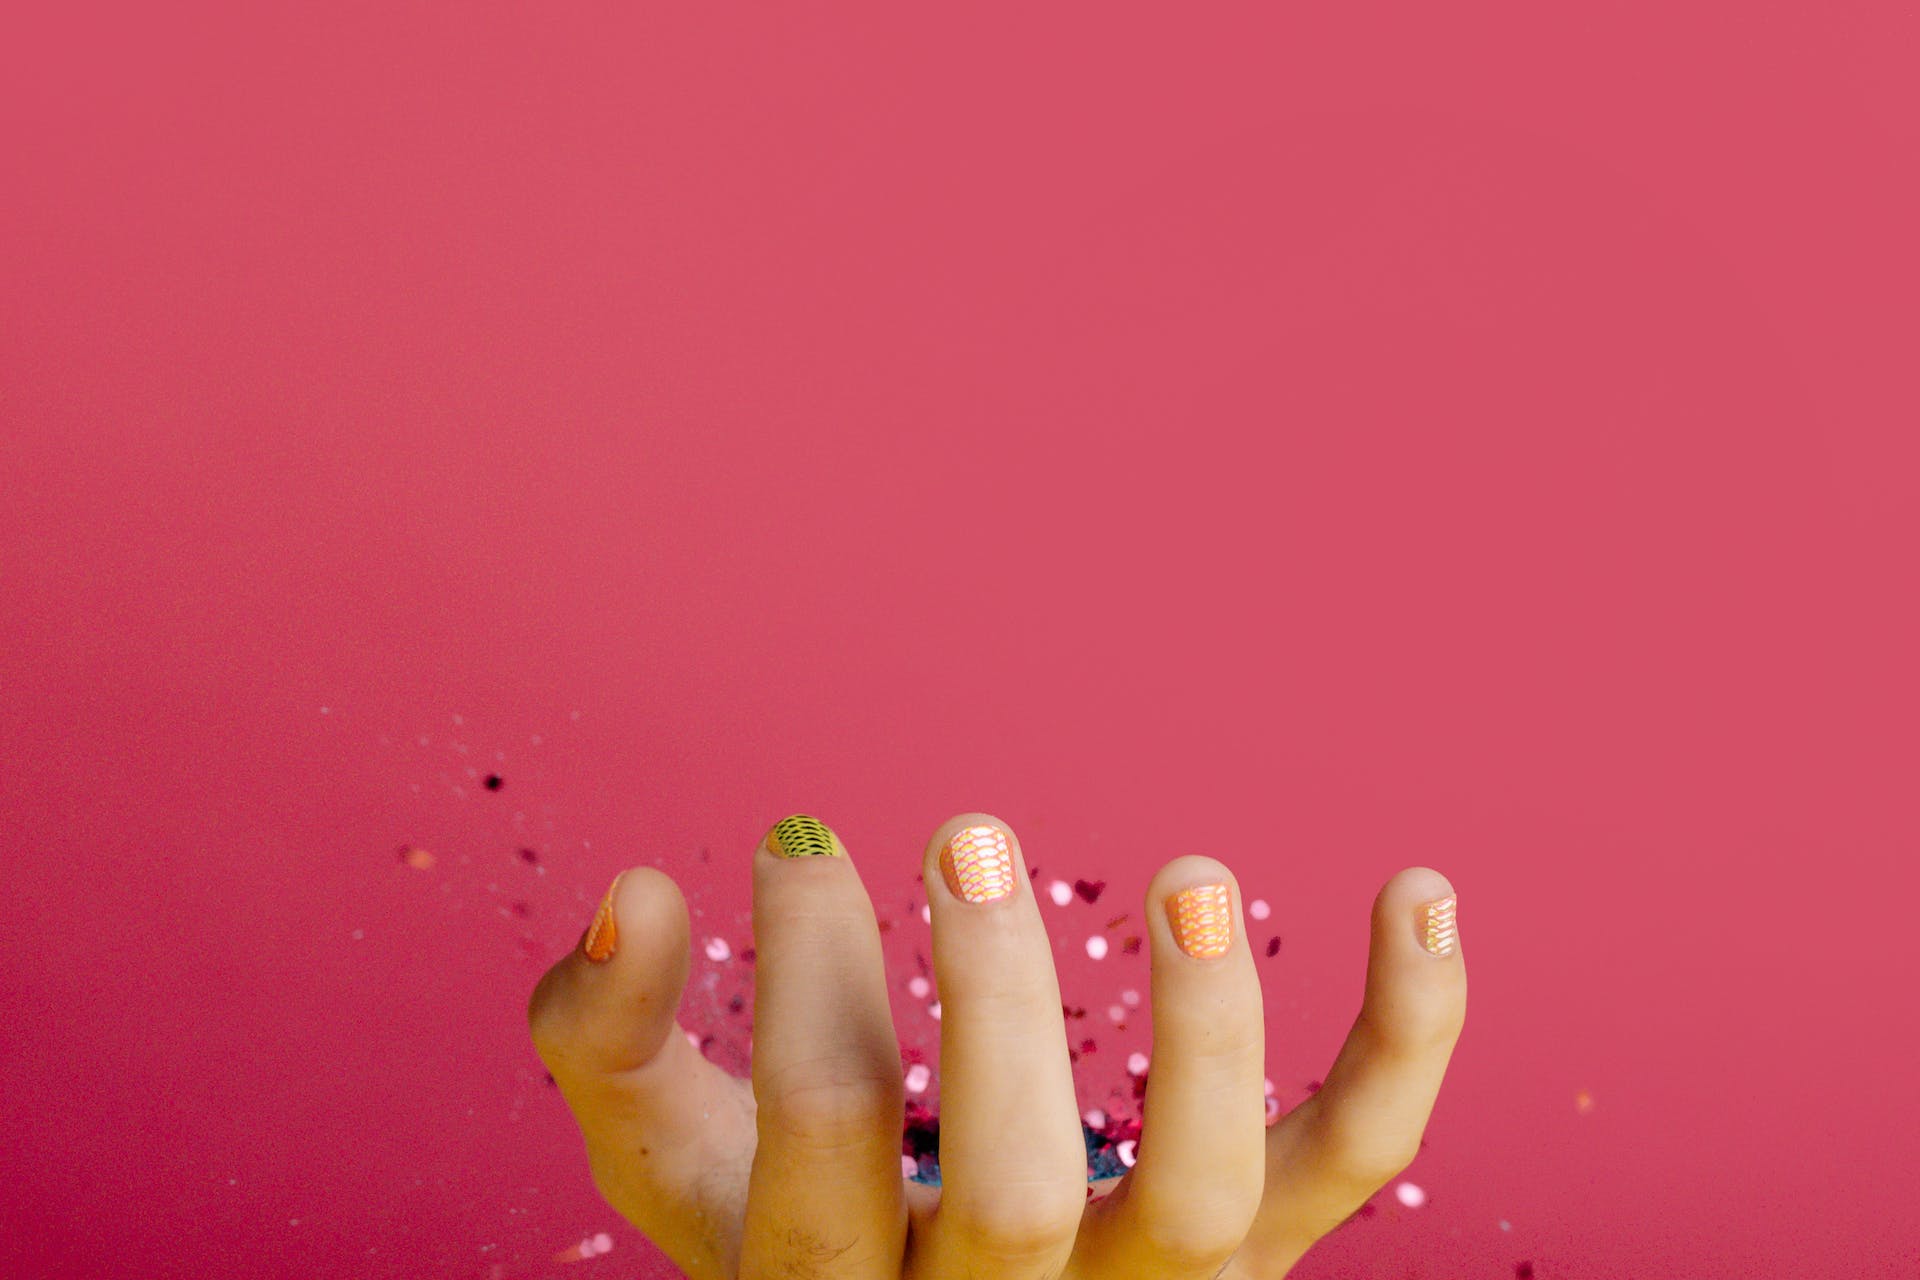
- Nail Art Galore: We are firm believers in the power of self-expression, and what better way to do that than through nail art?
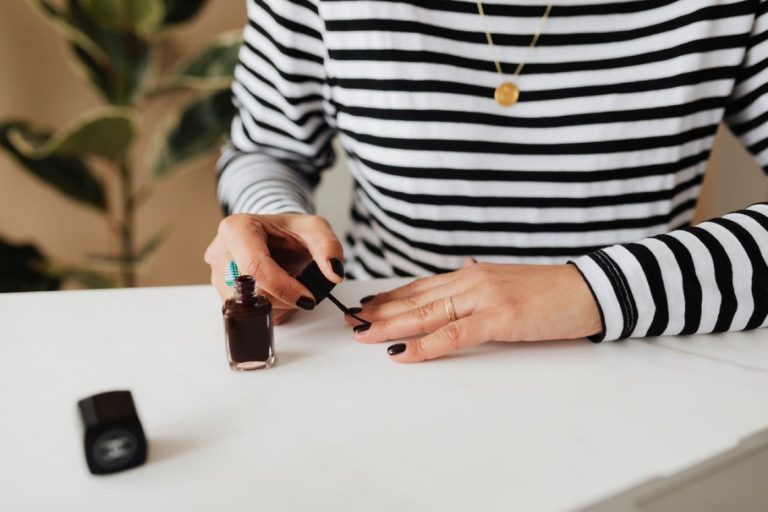
- Product Reviews: With so many nail products on the market, it can be overwhelming to choose the best ones. That’s where we come in.
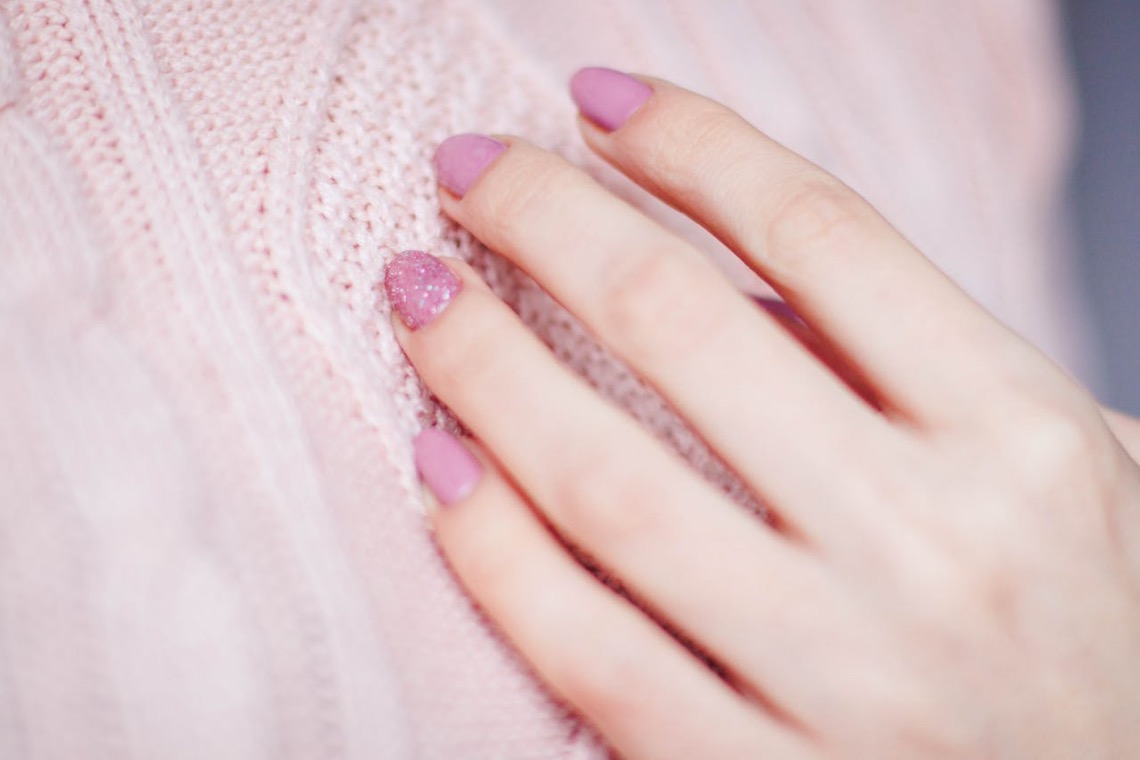
- Nail Polish Swatches: If you’re a polish enthusiast, you’re in for a treat. We showcase an array of nail polish swatches, from the latest collections to timeless classics.
Reviews
Where Can I Buy Olive and June Nail Polish?
If you’re on the hunt for Olive and June nail polish, you’re not alone. Olive and June has gained a devoted following…
Trind Nail Care Products Review
In this post, we’re diving into the world of nail care with a focus on Trind’s collection of nail products. These are…
Essence Peel Off Base Coat – Review
If you’re an avid nail polish enthusiast, you’re likely on a never-ending quest to find the best products that make your nail…
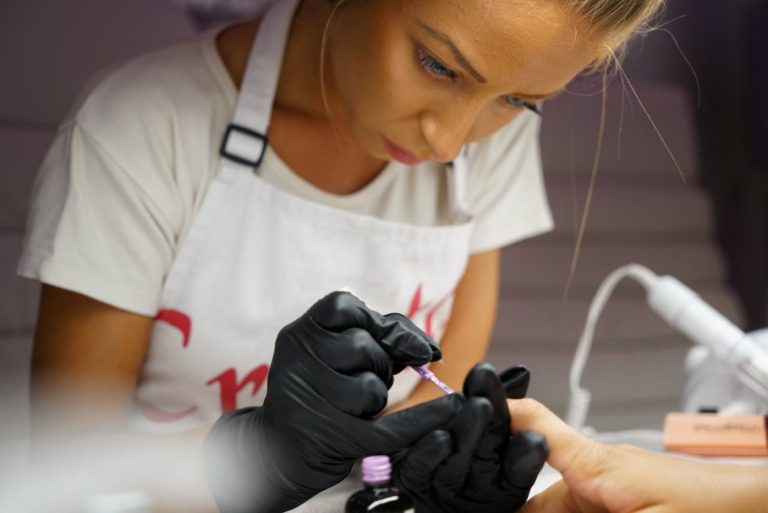
How To

How To Fix a Cracked Acrylic Nail
Acrylic nails are known for their durability and longevity, but accidents happen, and a cracked acrylic nail can be a real nail…
How To Use Nail Foils With Gel
Nail foils are a popular choice for achieving stunning and intricate nail art designs. When combined with gel polish, they can provide…
How to Remove Liquid Nail
Liquid Nails, a popular construction adhesive, is known for its strong bonding capabilities. However, there may come a time when you need…
Get in Touch
Your feedback is invaluable to us as it helps us tailor our content to your interests and needs.